Live Streaming Circus Data
Published:
While sick with the dreaded corona in March 2022, I sent a delirious text message to Marieke at Cheltenham Science Festival asking if there was any chance I could come and do something silly at the festival. Annoyingly she said I could come do the Demo Challenge again. Dammit.
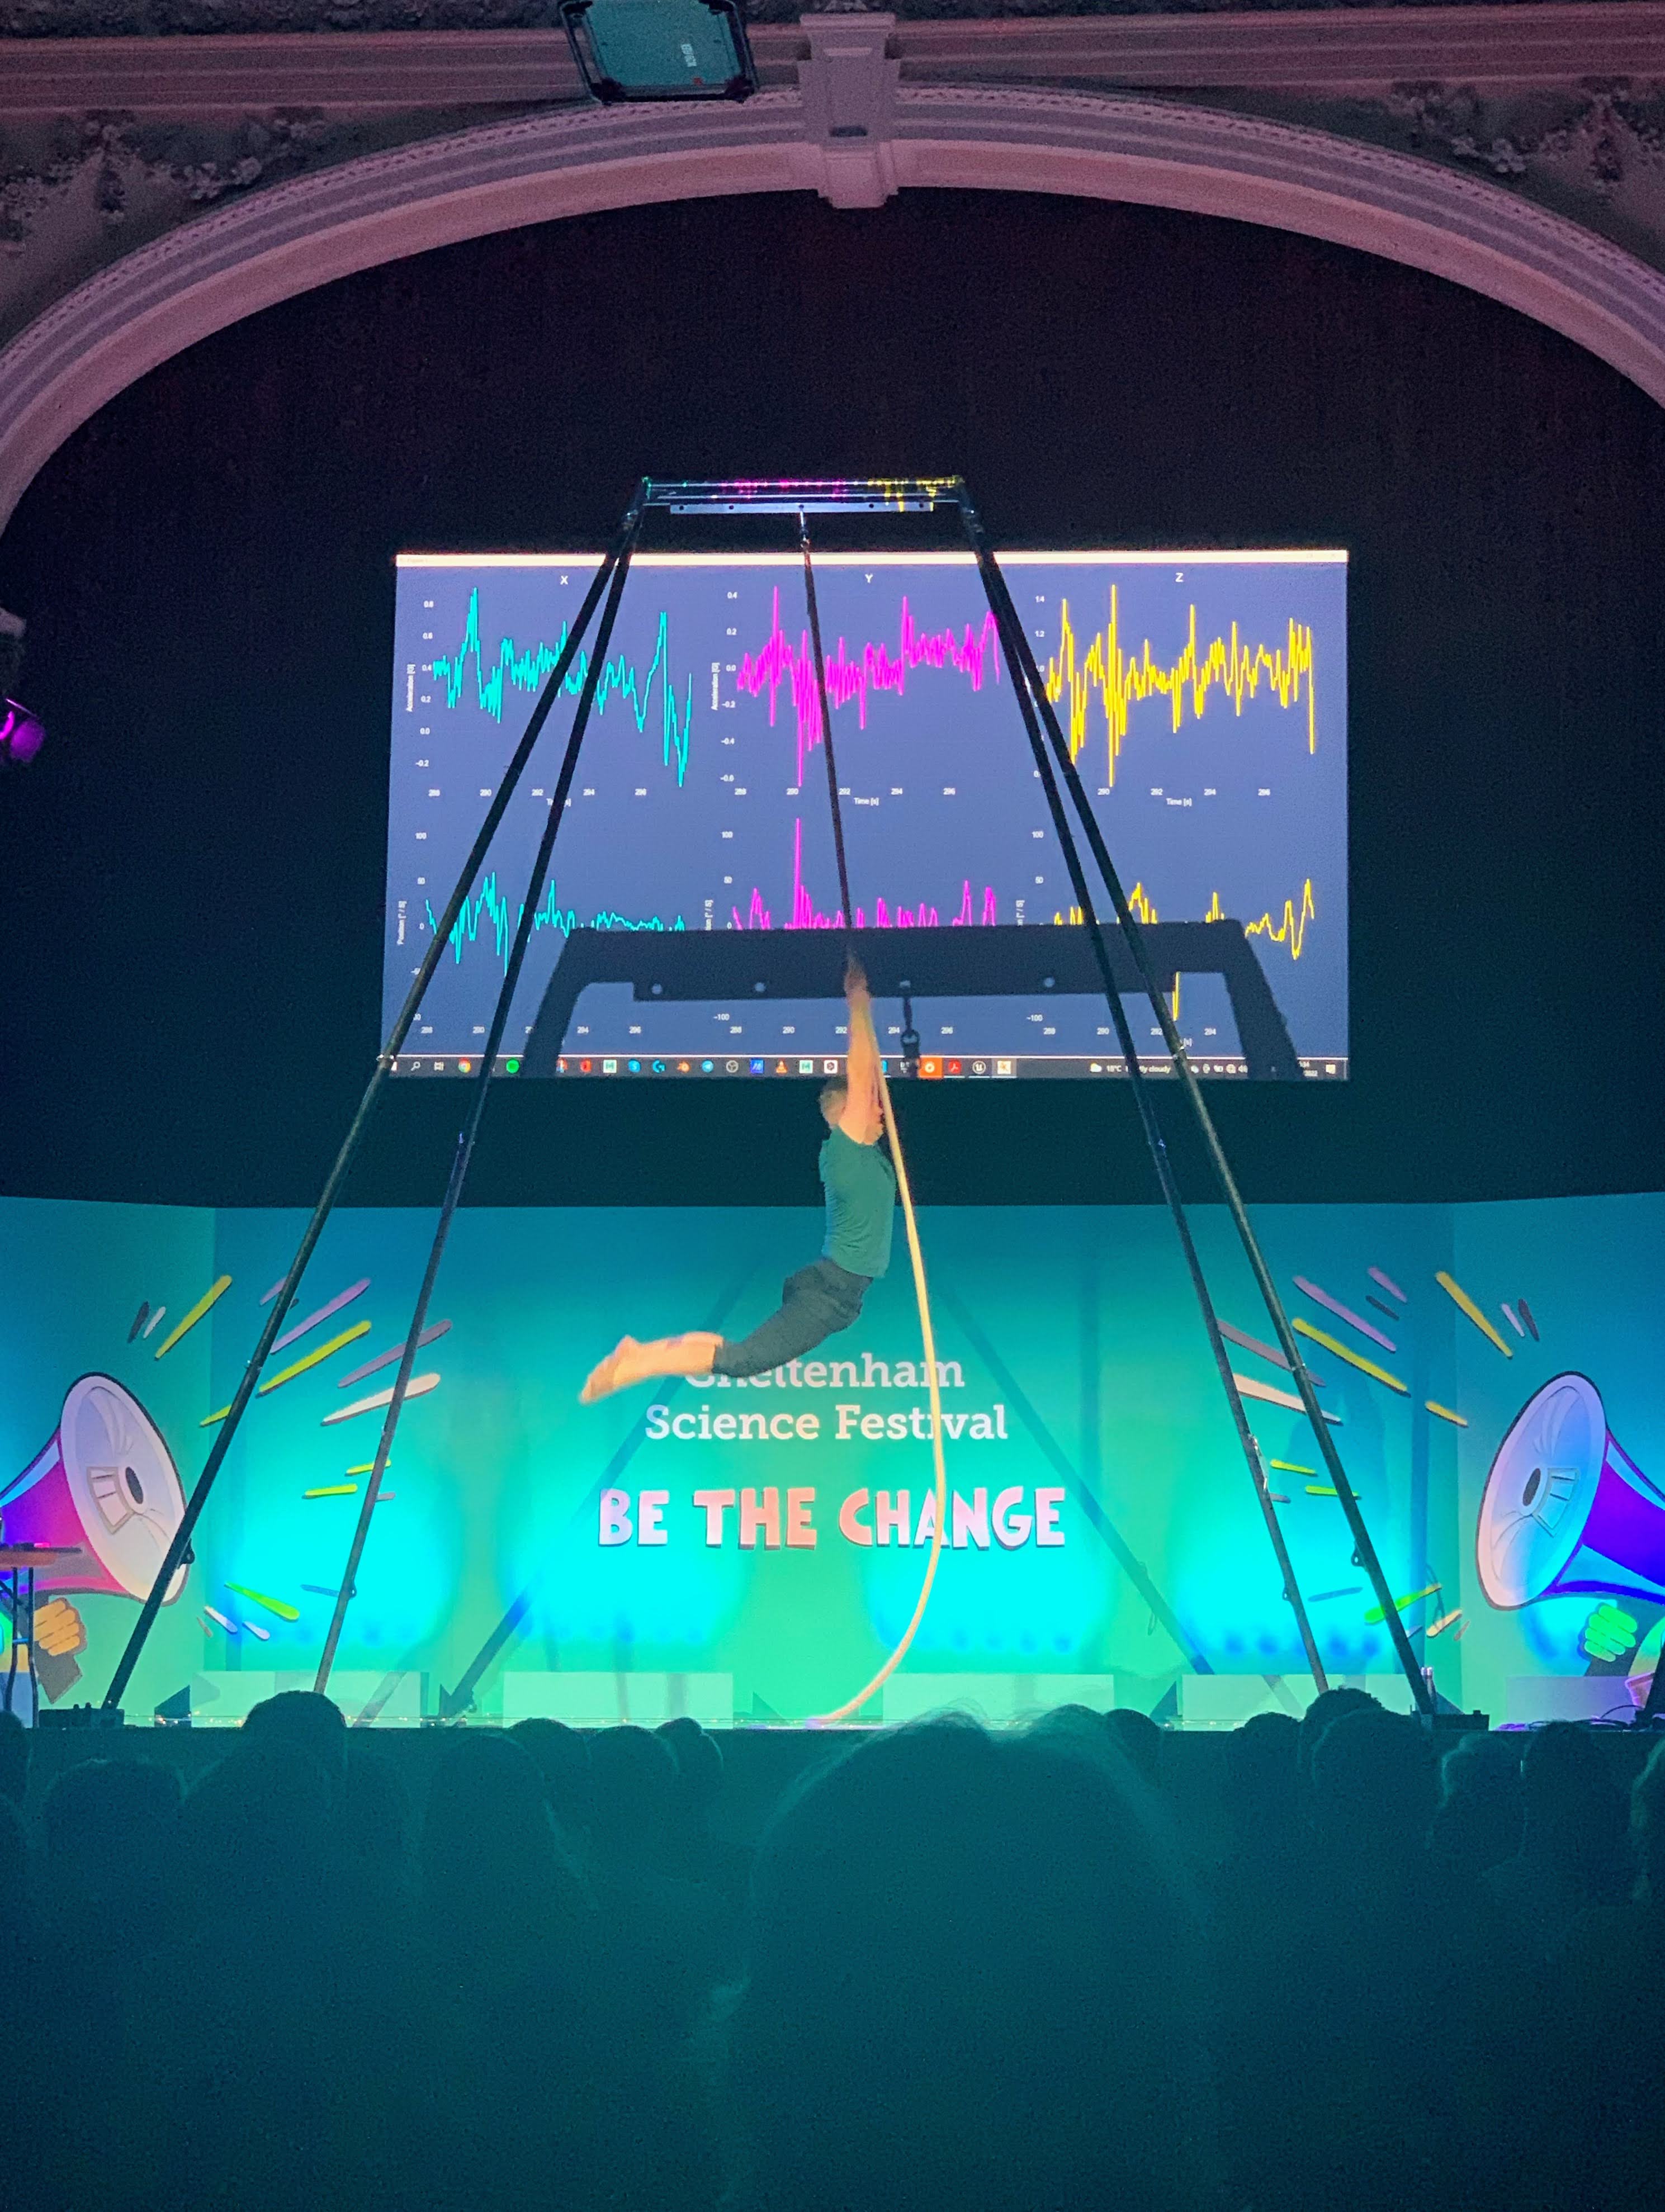
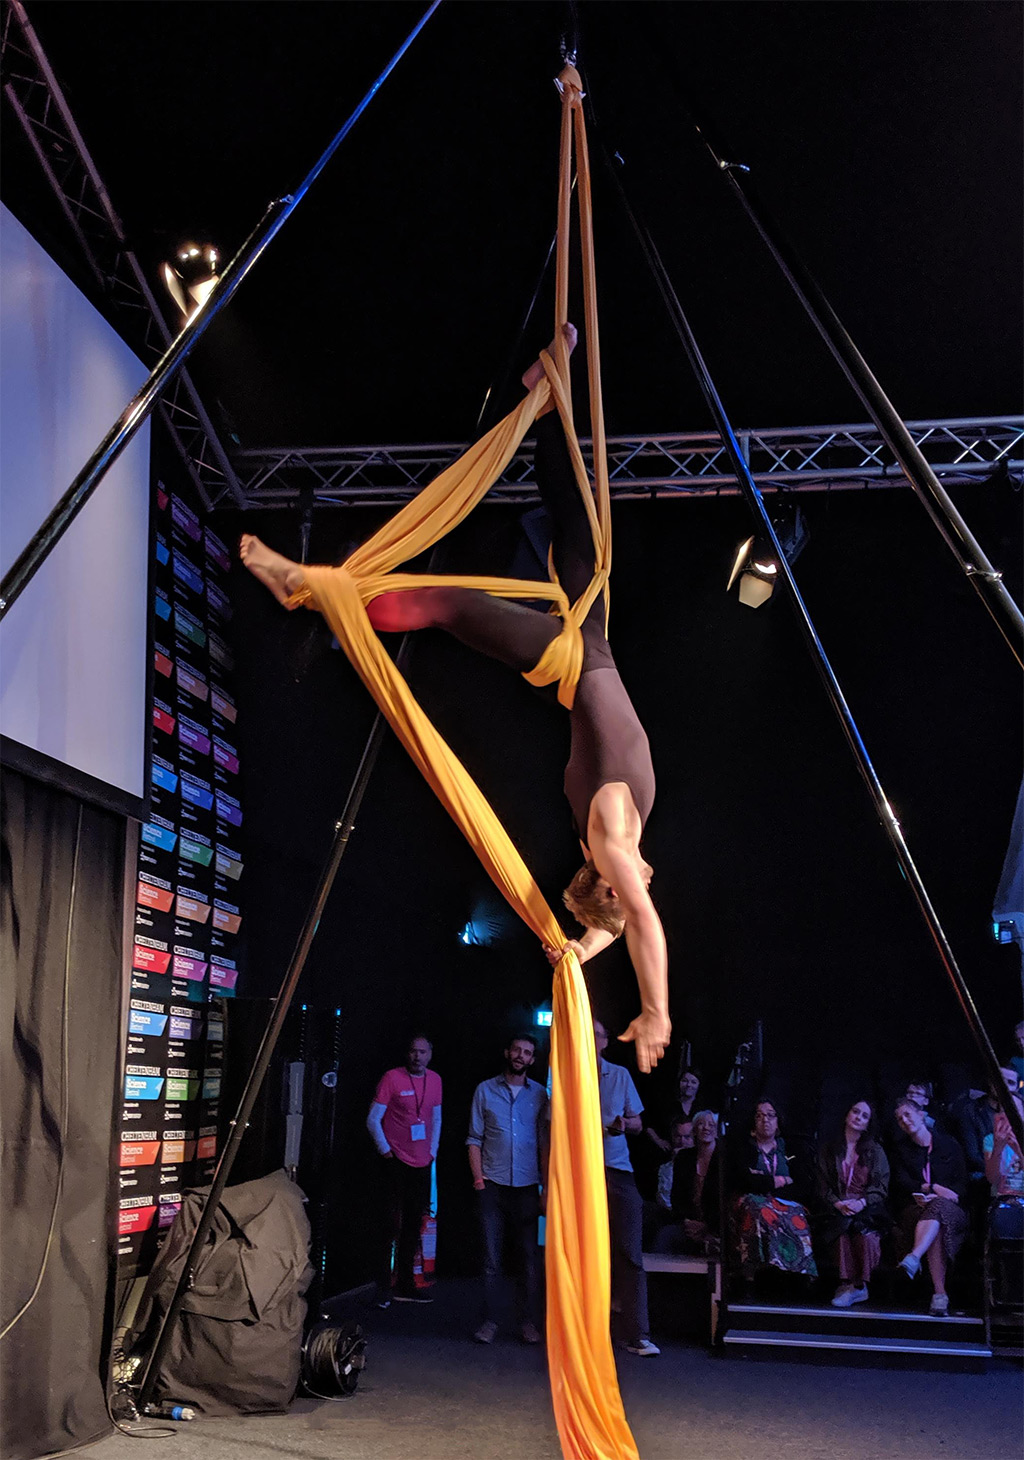
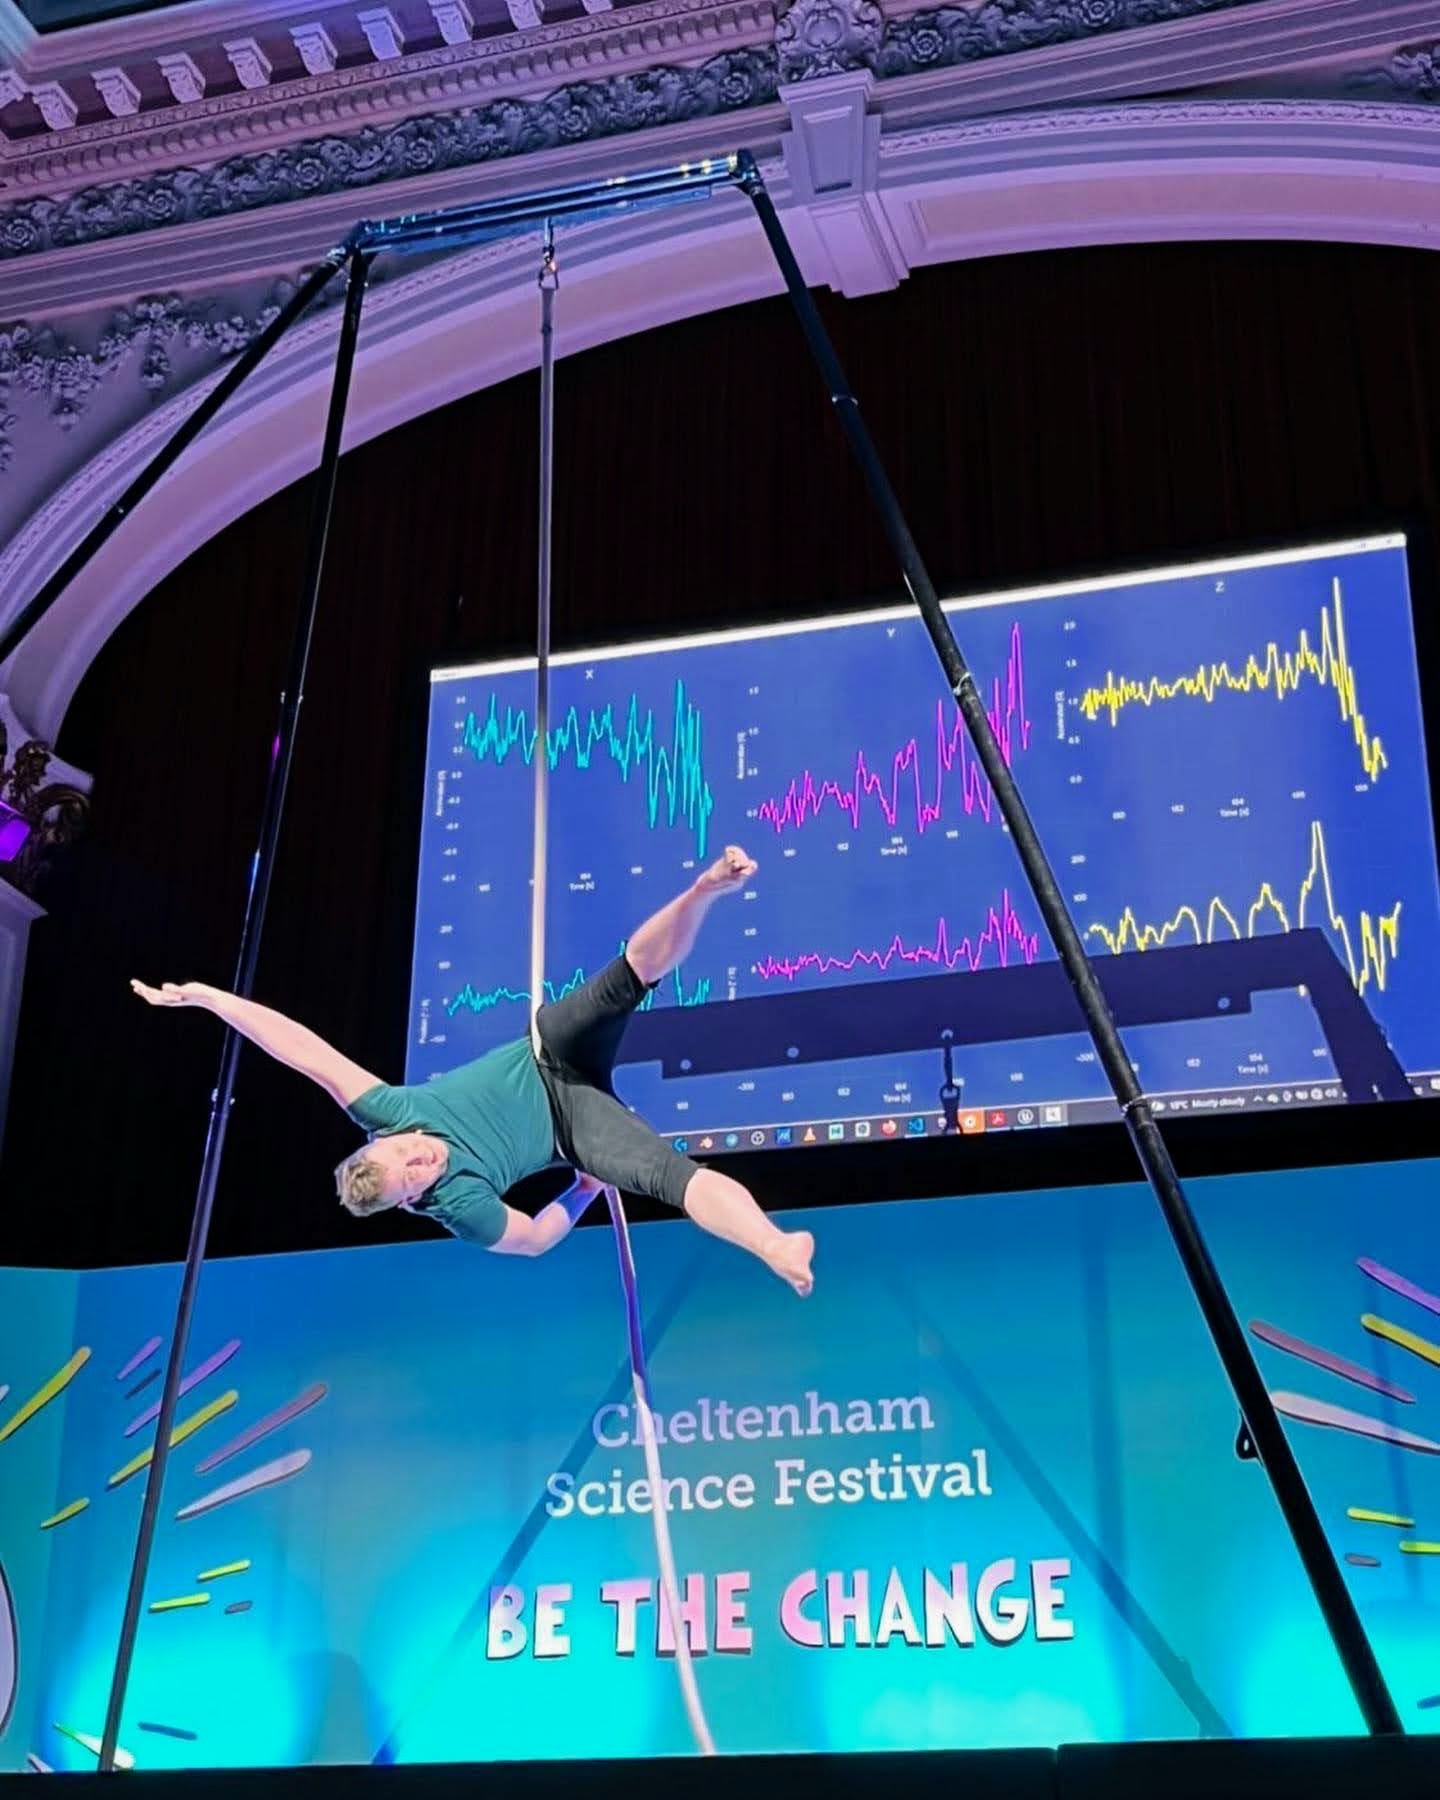
For some reason I take the demo challenge very seriously. It’s the event where you can legit push yourself to the max creatively, cause there is a joyful glee that you might fail. But if you are going to fail, you may as well fail big. My challenge to myself, demonstrate the forces experienced by my body while performing circus tricks to demonstrate how we exploit beats and gravity to throw ourselves into different poses.
The Device
The idea behind my demo has been brewing since the start of the pandemic. While most of my pandemic was spent doom scrolling, my friend Tanya and I had an idea of live streaming the level of force experienced by the body of an aerialist while perfoming tricks, and then using that data to then do something. That was the easy part.
But what next? Making the damn thing. Time was spent with off the shelf USB accelerometers (can not live stream unless willing to spend lots of money), BBC MicroBits (interesting, but I could never get battery packs to work). How about the fancy Apple Watch I have on my wrist? Of course Apple locks down all the data on the device. I needed something hackable, that I could use Python on, and had some familiarity with - I settled on trying using an Arduino Nano 33 BLE.
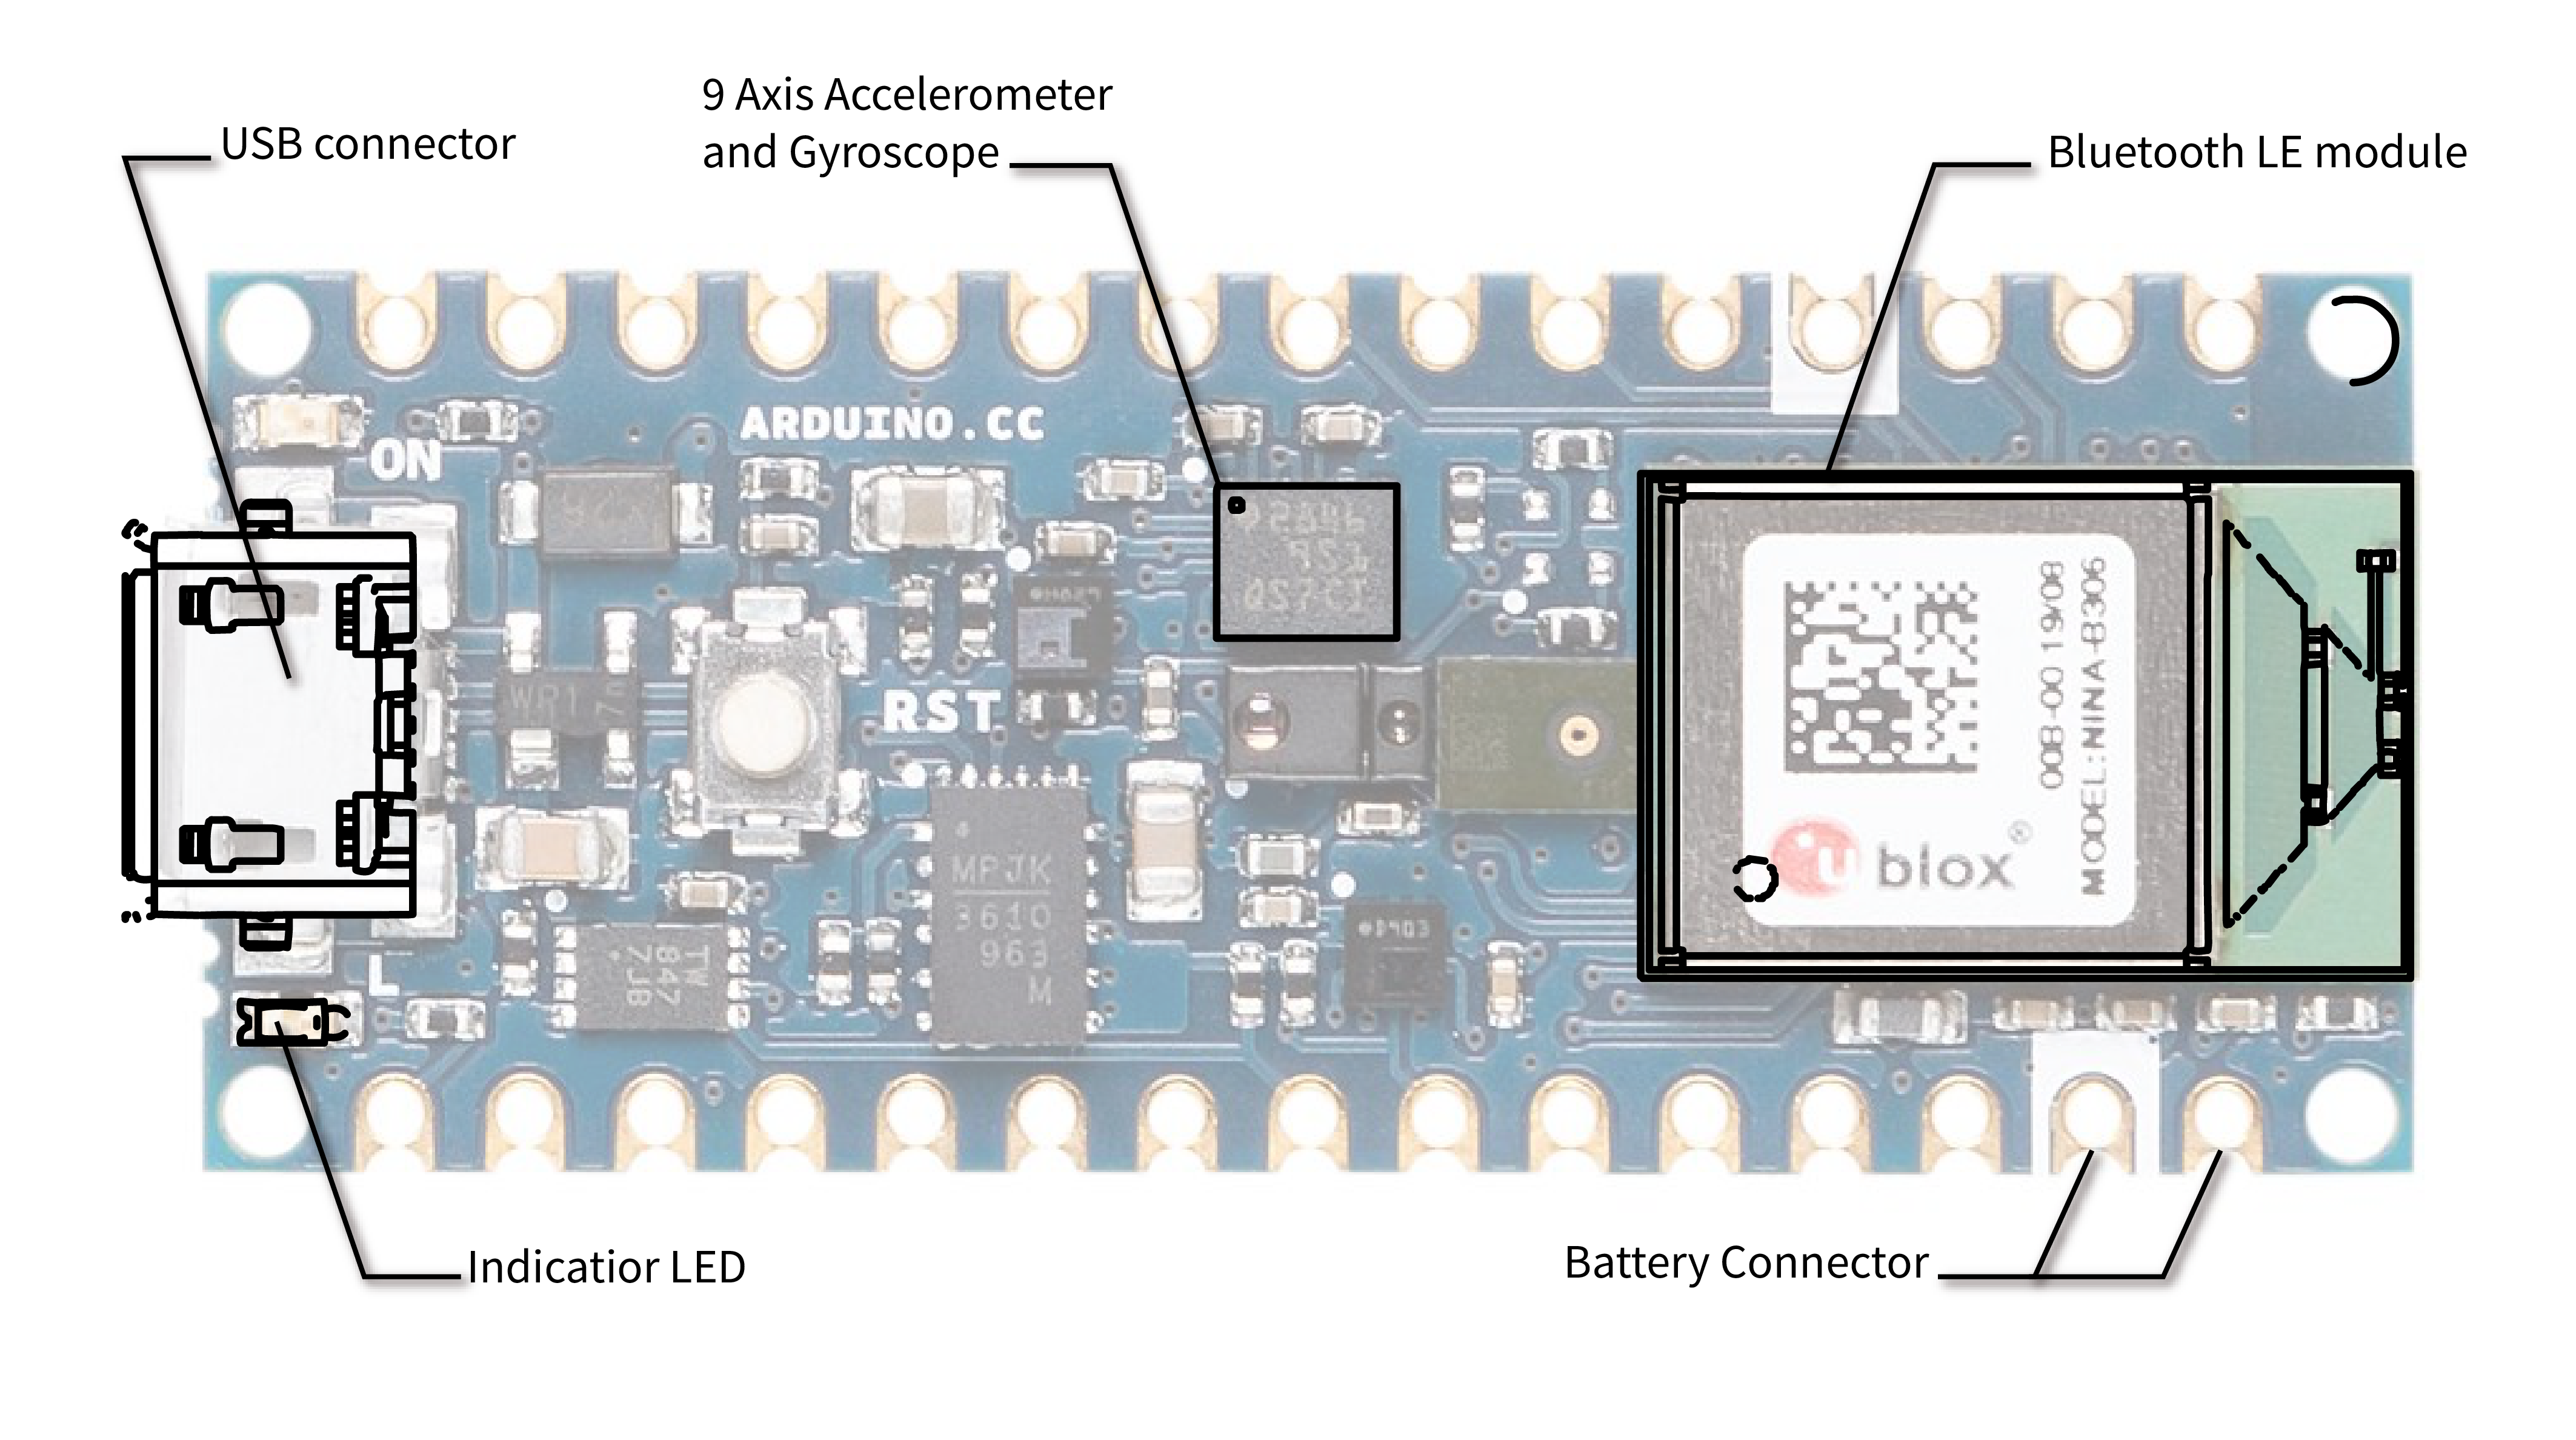
Not only does it have a 64 MHz processor, with a whopping 1 Mb of hard drive space, it also contains a two very important parts - the 9 axis Accelerometer and Gyroscope for measuring current forces and position, and the Bluetooth Low Energy module which allows data to be wirelessly transmitted. The couple of battery connectors mean you can wire up an a coin cell battery and violá, you have an scratchy Apple watch that has terrible battery life and can’t even tell the time. But, you can programe it and with a bit of magic, interface it with Python to work with data!
What do I need?
To be recreate and extend this demo you will need to purchase (with example links for purchasing, but you find other suppliers):
| Item | Notes | Link |
|---|---|---|
Arduino Nano 33 BLE 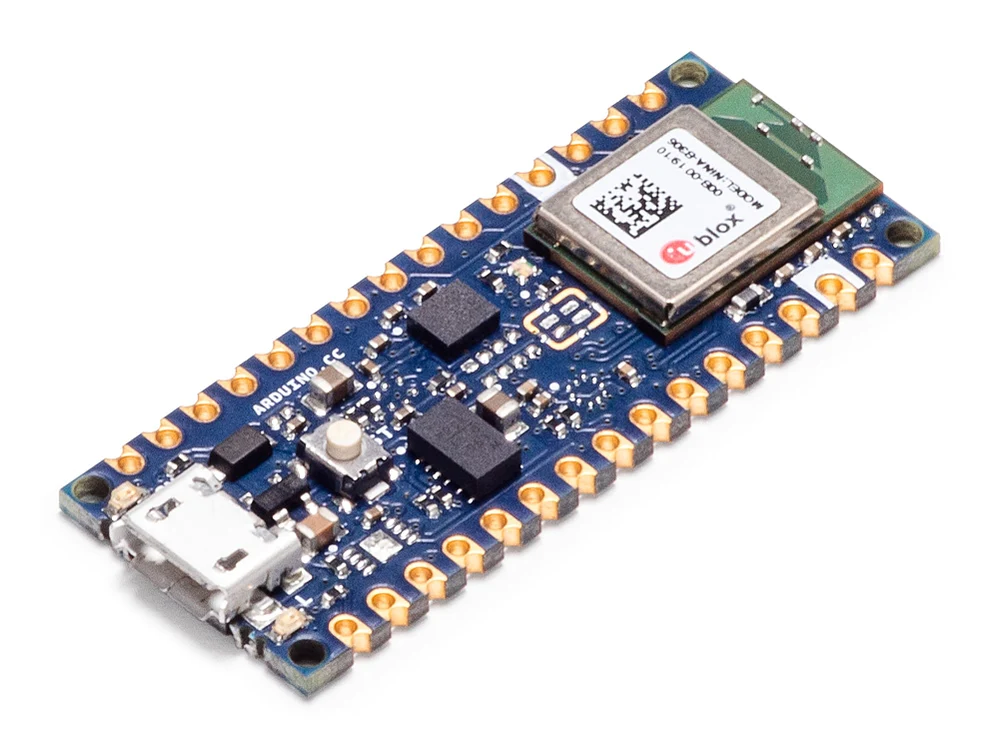 | The mircocontroller which has the sensors. | Arduino Nano 33 BLE |
Coin Cell Battery Pack 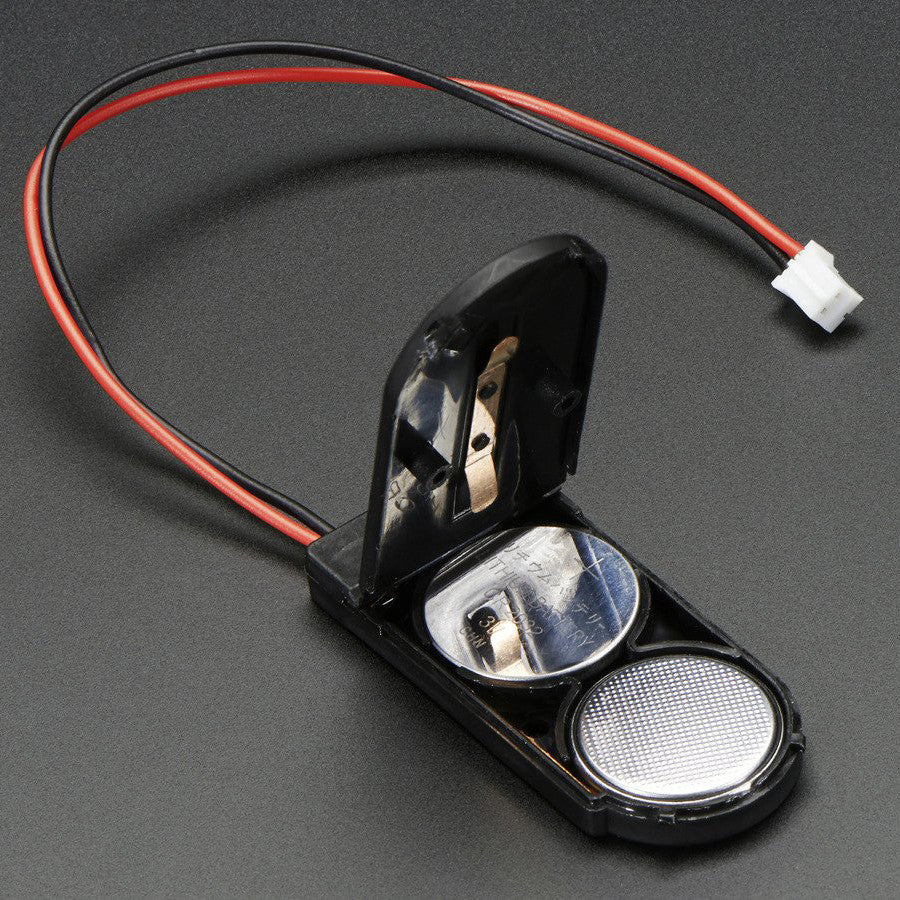 | You’ll need this to power the Arudino while you are in the air | Coin Cell Battery Pack |
Harness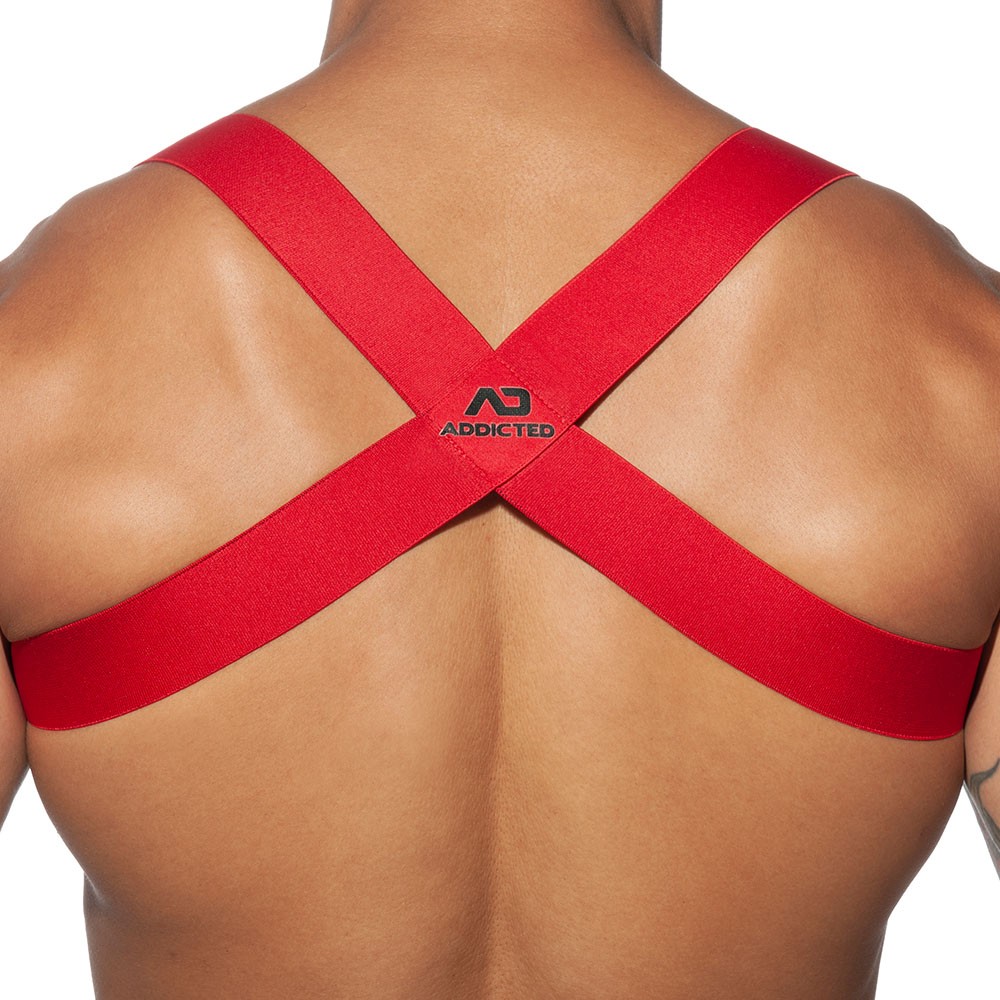 | I had to find a way to attach the sensor to myself in a secure place that wouldn’t get damaged by the rope. After some trial and error, I decided an elastic harness was probably best. This is the one I bought. | Spider Harness The nature of buying harnesses mean that if you adventure further into this website, you might find some NSFW content 😬. |
| CR 2032 Coin Cell Batteries | You need to power your device. | From the Mega Corp |
| Needle and Thread | To attach the Arduino and Battery Pack to your harness | |
| Windows Laptop | You need to ensure you have a Bluetooth 5.0 compatible chipset. | You could also buy a Bluetooth 5.0 chipset with high gain antenna (which I used for performance purposes) |
I put all this together to make this beautiful system which I can wear on my back between my shoulder blades.

The Code
I broke down the goals of this demo into progressions of ‘difficulty’.
- View accelerometer/gyroscope data
- Stream data over BLE
- Plot data
- Live plot data on an animated graph
- Send the data on to a game engine to make visualisations.
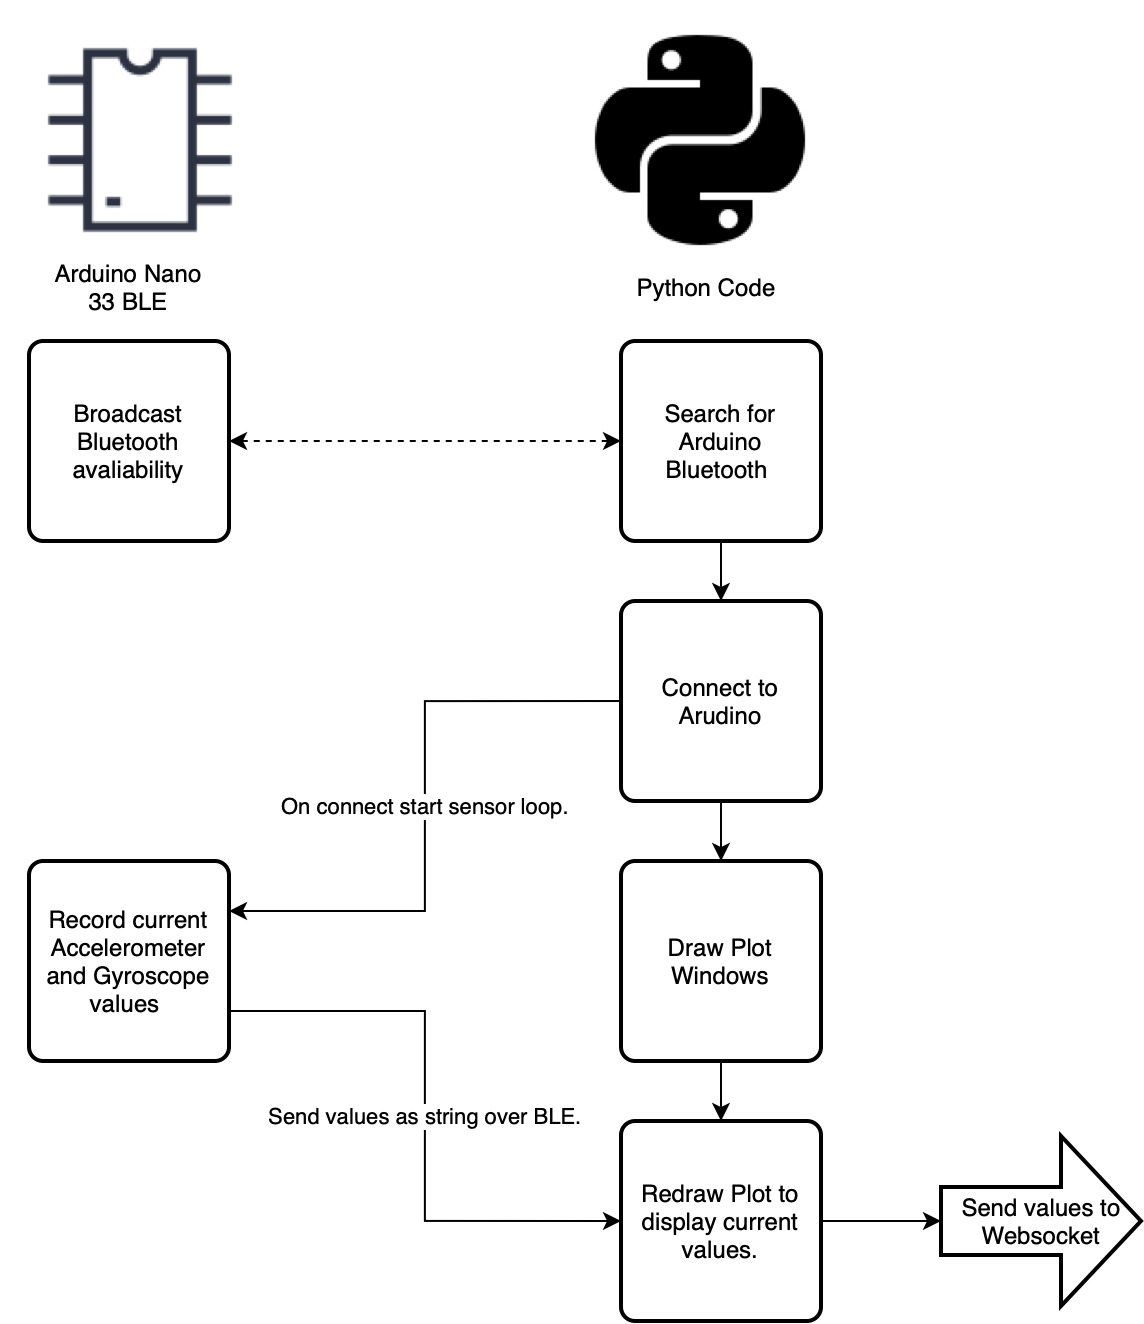
The Arduino is very easy to connect to over USB as a Serial device to view, and even plot data live. But things get way more complicated when it comes to streaming data over BLE. In simple terms, BLE is a terrible protocol to use for live streaming data, as my friend Kevin told me multiple multiple times.
Thank god for Kevin - as without him I wouldn’t have got past step 1 in the time I had avaliable. Luckily Kevin is a very good software engineer and has lots of experiences with embedded software programming. While I was out training for the demonstration, Kevin wrote the code to get it all to work. Thanks Kevin! We also know that this code isn’t the neatest or most efficient, but we had very little time.
Let’s start with the link to the GitHub Repo which contains the code required to get everything up and running. In terms of requirements, we have only gotten things to work on Windows, but I imagine with a bit of editing you should also be able to use a Mac. It requires Python 3 and of course a number of other required packages.
Installation
Arduino
Download and install the Arduino Desktop software from Arduino. You will also need to install support for the Arduino Nano BLE and install the Ardiuno_LSM9DS1 and ArduinoBLE libraries using the package manager.
Use the Arduino desktop software to install the Nano_Data_Sensing.ino file onto the Arduino Nano 33 BLE. If everything compiles and works properly then you should be good to go!
Python Code
Personally I would set up a new virtual environment(https://www.freecodecamp.org/news/how-to-setup-virtual-environments-in-python/) for the system as the code needs quite a few packages, probably of a specific version.
Install the requirements into your new environment.
Running The Demo
- Power up the Arduino Nano
- Run the main.py script using this environment and if everything was installed correctly, and your bluetooth is all working then hopefully you should see a beutiful promt saying looking for Arduino. When it connects the plots will be displayed in a seperate window!
- Hack together your own demos / visualisations / etc. You’ll notice that there is some code in there for websockets - we used this to stream the sensor data to an Unreal Game Engine - but you could use the data for all sorts of things.